
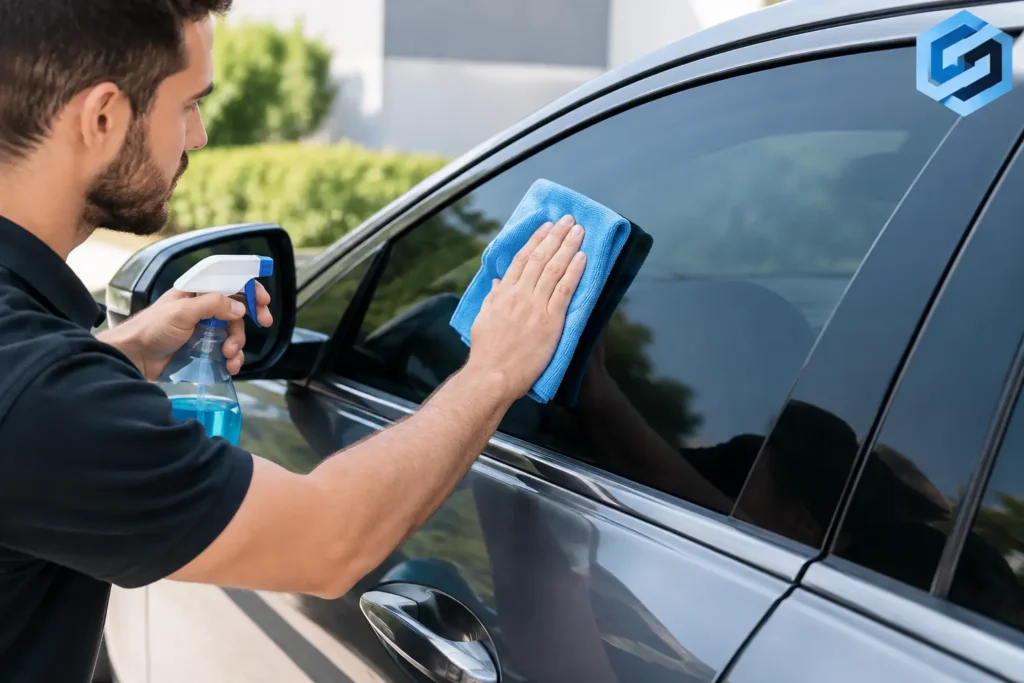
Fresh tint should make your vehicle look sharp, reduce glare, and help keep the cabin more comfortable. A harsh cleaner or rough towel can leave it hazy, scratched, or lifting at the edges. Knowing how to clean tinted windows properly takes only a few minutes, but it protects the film and the professional finish you paid for.
Why tinted windows need different care
Most automotive tint is a thin film applied to the inside surface of the glass. That means the outside of the window can generally be cleaned like normal vehicle glass, while the inside needs a gentler approach. Abrasive pads, ammonia-based products, and dirty paper towels can damage the film, dull its appearance, or affect the adhesive over time.
This matters even more in Alberta, where dust, road grime, winter slush, and temperature swings quickly build up on glass. It is tempting to use whatever cleaner is within reach at the gas station or in the garage. The safer choice is a tint-friendly cleaner and a clean microfiber cloth.
The exact care can depend on the type and age of your tint. Quality ceramic and carbon films are built for long-term performance, but no film benefits from aggressive scrubbing. If you are unsure whether a product is safe, do not test it on a corner of your window. Choose a product clearly labelled ammonia-free and safe for tinted glass.
What to use to clean tinted windows
You do not need a shelf full of detailing supplies. The right basics are simple: an ammonia-free automotive glass cleaner, two clean microfiber towels, and a spray bottle if your cleaner does not already have one.
A dedicated tint-safe glass cleaner is the most convenient option. You can also use a mild mixture of distilled water and a small amount of gentle dish soap for light cleaning. Distilled water is helpful because it reduces the mineral spots that hard tap water can leave behind.
Microfiber towels are worth using because they lift oils and dust without the scratch risk of paper towels. Keep one towel for cleaning and another dry towel for the final wipe. If either cloth has picked up grit from the dashboard, door panels, or exterior paint, replace it before touching the glass again.
Avoid cleaners containing ammonia, strong alcohol concentrations, bleach, or abrasive compounds. Ammonia is the big one to watch for. It can discolour some tint films, dry out adhesives, and create a cloudy look over time. Also avoid scouring pads, razor blades, rough shop towels, and newspaper. These may work on bare glass, but they are not a good trade-off for tinted windows.
How to clean tinted windows step by step
Start in a shaded area whenever possible. Cleaning glass in direct sun causes cleaner to dry too fast, making streaks more likely. A cool window is easier to clean evenly than one that has been sitting in full sun or blasting hot air from the defroster.
First, lower the window slightly and wipe the top edge of the glass. Dirt collects in the rubber weather stripping, and cleaning this edge first helps prevent debris from dragging across the tinted surface when the window moves.
Spray your cleaner onto the microfiber towel instead of directly onto the glass. This gives you better control, prevents excess liquid from running into switches or door panels, and keeps cleaner away from tint edges. The towel should be damp, not soaked.
Wipe the inside of the window gently in straight, overlapping passes. Work from top to bottom or side to side rather than scrubbing in tight circles. Straight passes make it easier to see where you have cleaned and reduce the chance of leaving swirl marks from trapped dust.
Follow immediately with a second, dry microfiber towel. Use light pressure to pick up remaining moisture and polish out streaks. For stubborn fingerprints or a film from vaping, pets, or interior plastics, repeat the process with a fresh section of the damp towel instead of pressing harder.
Finally, inspect the glass from different angles. Streaks are often more visible from the driver’s seat than from outside the vehicle. This is especially true on the windshield side windows, where sun glare can make a small smear surprisingly distracting.
Cleaning the exterior glass
The exterior surface does not have tint film on it, so it can handle normal automotive glass cleaner. Still, use a clean microfiber towel and remove grit carefully first. Road salt and fine gravel can scratch any glass if rubbed around dry.
Keeping both sides of the glass clean improves visibility, particularly on dark mornings, during snow, and when headlights reflect off a dirty side window. Tint should improve driving comfort, not hide a layer of grime.
Do not clean newly installed tint too soon
Newly applied tint needs time to cure. During curing, moisture used in the installation process evaporates through the film. You may see a slight haze, small water pockets, or a few soft-looking areas at first. That is usually normal and does not mean the tint needs to be wiped or pressed.
Follow your installer’s specific aftercare instructions. As a general rule, do not roll down the windows or clean the inside surface until the film has fully cured. Curing time varies with weather, film type, and whether the vehicle is parked indoors, but colder conditions can make it take longer.
Trying to clean or push out moisture too early can disturb the film before the adhesive has fully settled. If a bubble, lifting edge, or unusual mark remains after the recommended curing period, contact the installer rather than trying to fix it yourself. A warranty-backed tint job should come with clear support if something needs attention.
Common mistakes that leave tinted glass looking worse
The most common mistake is using household window cleaner without checking the label. Many familiar blue glass cleaners contain ammonia, which is fine for mirrors and some household windows but not a reliable choice for automotive tint.
Another issue is cleaning with a towel that looks clean but has been used on the vehicle exterior. Even small bits of grit can create fine scratches in tint film. Keep your interior glass towels separate and wash them without fabric softener, which can leave residue that causes streaking.
Too much cleaner creates problems as well. Overspraying leads to drips, residue around trim, and extra wiping. A lightly damp towel cleans more effectively than a wet window.
Be cautious around aftermarket stickers, decals, and tint edges. Do not use a blade to remove adhesive from tinted glass. If sticker residue is on the film, use a tint-safe adhesive remover only after confirming it is compatible, then test it in a discreet area with minimal pressure.
Keep your tint clear between full cleans
A quick wipe every week or two is easier on the film than waiting until oils and dust have built up. Focus on the driver and passenger windows, which collect fingerprints more quickly, and the rear glass if you have pets, children, or regularly carry gear.
Reduce the source of residue where you can. Clean the dashboard occasionally, avoid touching the glass when closing doors, and change cabin air filters on schedule if the interior gets dusty. These small habits help your windows stay clearer for longer.
If you notice scratches, peeling, fading, or bubbling that does not improve after curing, cleaning will not solve the underlying issue. Professional inspection is the sensible next step. Quality film, proper installation, and gentle maintenance should give you years of better comfort, privacy, and UV protection.
For drivers around Airdrie and Calgary, JDB Autoglass can help with professional automotive tinting and practical aftercare advice. Treat your tinted windows with the same care you give the rest of your vehicle, and they will keep doing their job mile after mile.